Artväna paint and sip logo
Menu

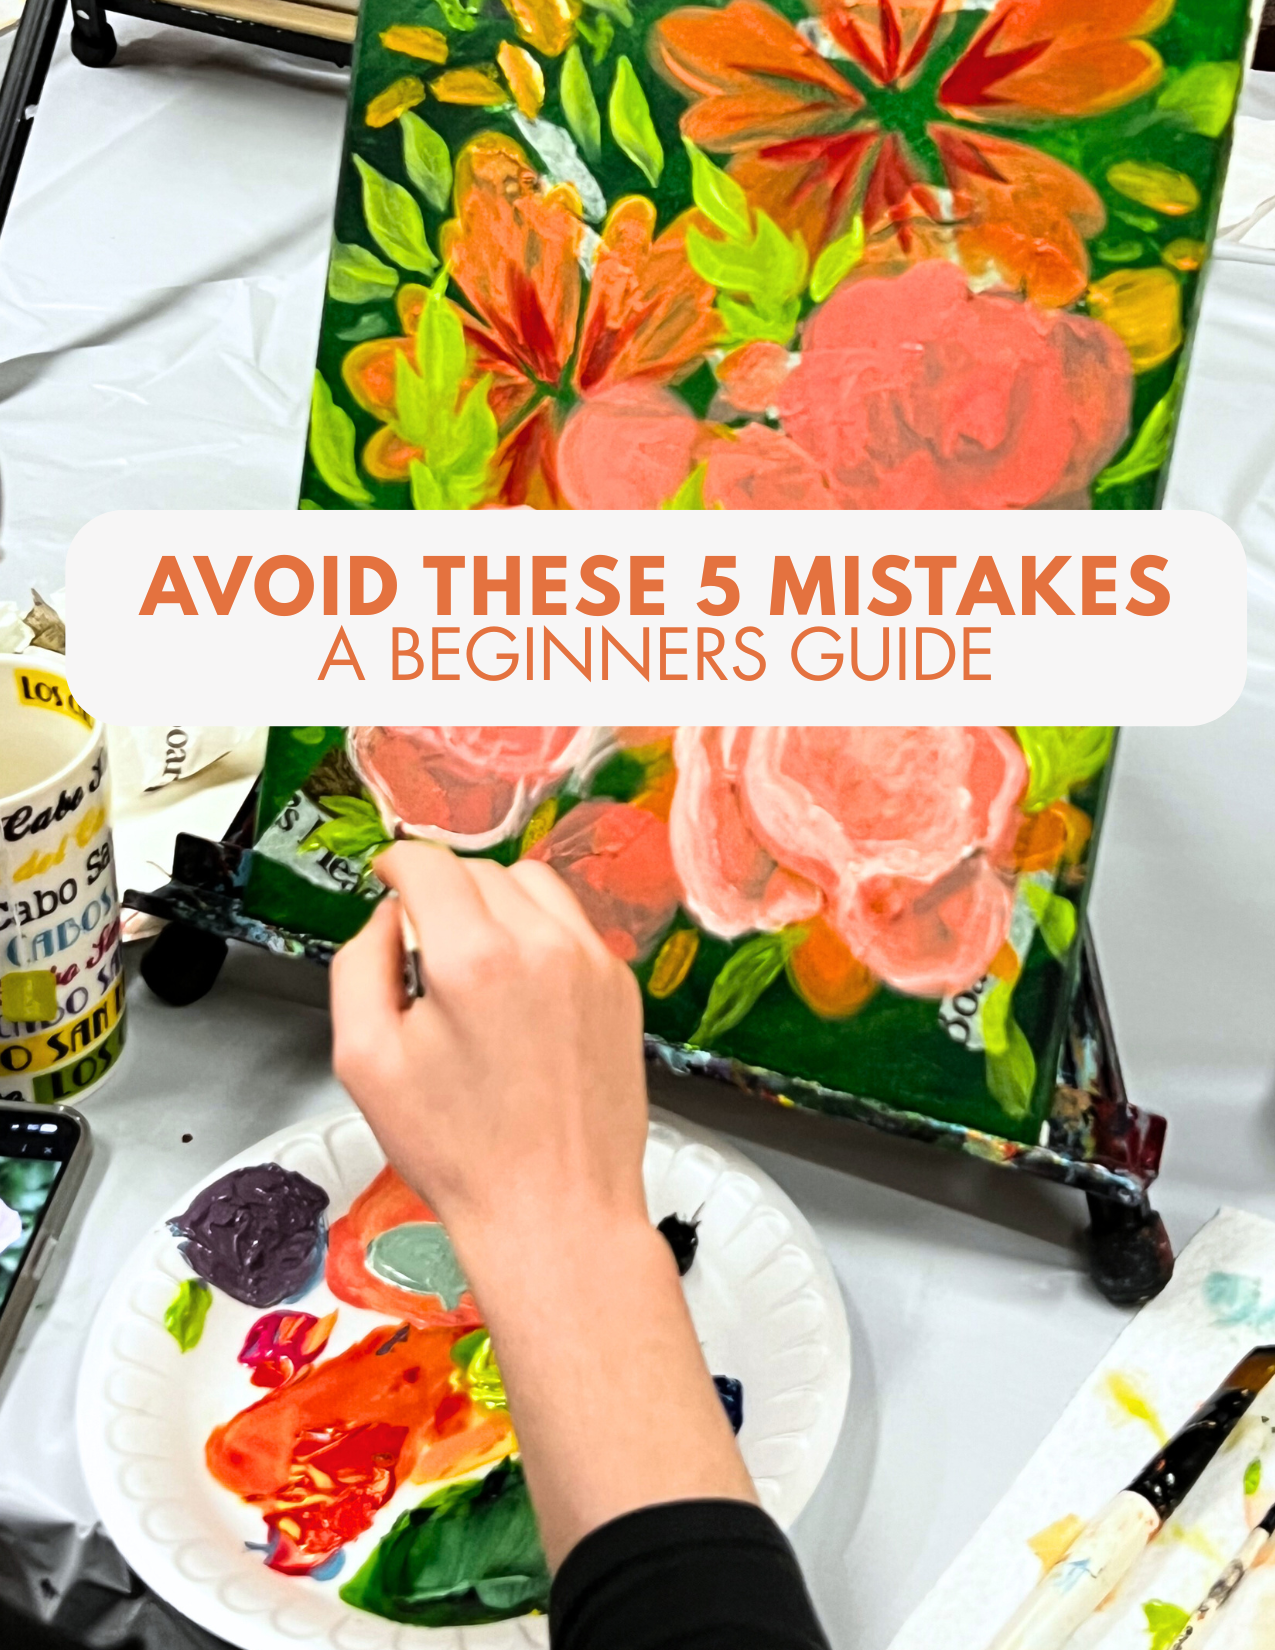
Avoid These 5 Mistakes: A Beginner’s Guide to Step-by-Step Acrylic Painting

When you’re just starting out with beginner acrylic painting, it can feel both exciting and intimidating. You’ve got your brushes, your paints, and a blank canvas that’s full of possibility. But as soon as you dip that brush into the paint, questions start flooding in. Am I using the right technique? Why does my paint dry so quickly? How do I blend colors without making mud?

The truth is, every artist goes through this learning curve. Acrylic paint is a wonderfully versatile medium, but it has its quirks. And while there’s no “wrong” way to make art, there are a few common pitfalls that can hold new painters back from enjoying the process or getting the results they want.

That’s why I’ve put together this guide: Avoid These 5 Mistakes: A Beginner’s Guide to Step-by-Step Acrylic Painting. Whether you’re completely new to painting or you’ve dabbled here and there, this step-by-step approach will help you steer clear of frustration and build confidence with your brush.


Why Choose Acrylics as a Beginner?

Before we dive into the mistakes, let’s talk about why acrylics are such a popular choice for beginners. Acrylic paint is fast-drying, easy to clean up with just water, and forgiving—you can paint over mistakes almost instantly. It’s more affordable than oils and doesn’t require special ventilation like some other mediums.

Because of its flexibility, acrylics are perfect for learning. You can try bold strokes, layering, blending, and experimenting without worrying too much about permanence. It’s a medium that lets you play, which is exactly what beginners need.

Still, that quick-drying nature and bold pigment can throw you off if you’re not prepared. That’s where the five common mistakes come in.


Mistake #1: Skipping the Basics of Materials

Many beginners think they need the most expensive paints, brushes, and canvases to get started. Others go the opposite route and grab the cheapest supplies they can find. Both approaches can backfire.

  • Cheap paints often have weak pigmentation and chalky textures, making blending nearly impossible.

  • Low-quality brushes shed bristles into your work or lose their shape after one wash.

  • Poor canvas prep can cause paint to soak in unevenly.

Step-by-step fix:

  1. Start with a set of student-grade acrylic paints from a reputable brand. These balance affordability with quality.

  2. Choose a few versatile brushes—a flat, a round, and a detail brush are all you need to begin.

  3. Use pre-stretched, pre-primed canvases or acrylic paper so your surface is ready to go.

By investing just a little thought into your supplies, your painting process will feel smoother, and you’ll spend less time fighting with your tools.


Mistake #2: Forgetting to Plan Your Composition

When excitement takes over, it’s tempting to start painting right away. But without a plan, your painting can quickly feel chaotic. Beginners often forget to sketch lightly or block in big shapes before diving into details.

The result? A painting that looks unbalanced, or where small mistakes snowball into big frustrations.

Step-by-step fix:

  1. Spend 5–10 minutes sketching your idea lightly in pencil or chalk.

  2. Identify the main shapes and where they’ll sit on your canvas.

  3. Decide on a rough color palette before you begin.

Think of this stage as building a roadmap. It doesn’t have to be perfect, but it gives your painting structure and direction.


Mistake #3: Overworking the Paint

Acrylics dry fast—that’s both a blessing and a challenge. Beginners often keep brushing and re-brushing an area, hoping to fix it, only to end up with muddy colors or streaky textures.

Overworking the paint can also damage your canvas and make the piece look heavy instead of fresh.

Step-by-step fix:

  1. Lay down your brushstrokes with confidence, and then step back.

  2. If something looks off, let it dry completely. Acrylics allow you to layer—so instead of fighting wet paint, you can paint over mistakes cleanly once it’s dry.

  3. Use a misting spray bottle or a wet palette to extend drying time if you need more flexibility for blending.

Learning when to stop is just as important as learning what to do.


Mistake #4: Ignoring Color Mixing

One of the joys of acrylic painting is mixing vibrant colors. But beginners sometimes squeeze paint straight from the tube onto the canvas, leading to flat or unnatural-looking hues. Others mix too much, creating dull, muddy tones.

Step-by-step fix:

  1. Learn the basics of the color wheel—primary, secondary, complementary, and analogous colors.

  2. Mix small amounts on a palette before committing to the canvas.

  3. Keep a scrap piece of paper nearby to test your colors first.

  4. Start with a limited palette (for example, red, blue, yellow, white, and black) to understand how many colors you can create.

The more you practice mixing, the more control you’ll have over the mood and vibrancy of your painting.


Mistake #5: Comparing Yourself Too Soon

This might be the biggest trap of all. With social media full of polished art, it’s easy to look at your first few attempts and think, “I’m terrible at this.” But every skilled artist you admire started where you are now.

Comparison can rob you of the joy of learning. Acrylic painting, especially for beginners, is about experimenting, making mistakes, and gradually improving—not about perfection.

Step-by-step fix:

  1. Keep your early paintings as a record of your progress.

  2. Set small, achievable goals, like “practice blending skies” or “try a new brush technique.”

  3. Celebrate small wins—like mixing a color you love or finishing a canvas.

Remember, art is a journey, not a race.


A Beginner-Friendly Step-by-Step Exercise

If you want to put these tips into practice right away, try this simple acrylic painting for beginners step by step project:

  1. Sketch a simple horizon line. Divide your canvas into sky and land (or water).

  2. Paint the background first. Use broad strokes to fill in the sky, blending two colors together (like blue and white for a soft gradient).

  3. Block in the foreground. Use darker shades for land or water. Don’t worry about details yet.

  4. Add midground shapes. Trees, hills, or distant objects. Keep them simple.

  5. Layer details on top. Once everything is dry, add highlights, shadows, or focal points like a sun or flower.

This exercise teaches planning, layering, and blending—while keeping things approachable for beginners.


Final Thoughts

Avoiding these five mistakes doesn’t mean your paintings will always go perfectly—and that’s a good thing! Each painting teaches you something new. The important part is to enjoy the process and give yourself permission to grow.

If you’re ready to dive deeper, set aside time each week for your art. Join a local class or follow a structured tutorial to get real-time guidance. And most of all, remember: beginner acrylic painting is about exploration, creativity, and fun.

So grab your brushes, embrace the mess, and enjoy the colorful journey of acrylic painting for beginners step by step.

Beginner acrylic painting

So, you’ve decided to try acrylic painting—amazing choice! Whether you’re here because you’ve always wanted to explore your creative side, or you’re looking for a fun night out, acrylic paint is the perfect place to begin.

Why? It’s forgiving, colorful, and easy to learn. At Artväna, we’ve seen countless beginners go from “I can’t even draw a stick figure” to proudly showing off their first canvas. All it takes is a little guidance and a willingness to play with paint.

If you’re ready, let’s dive into 10 simple tips to kickstart your beginner acrylic painting journey.

Quick Acrylic Painting Facts for Beginners

Fact Why It Matters for Beginners
Acrylics dry quickly Great for layering, but you’ll need to work fast for blending.
Water-based medium Easy cleanup—just soap and water.
Works on many surfaces Canvas, paper, wood, fabric…the options are endless.
Beginner-friendly Forgiving: you can paint over mistakes once dry.

1. Start Simple with the Right Supplies

Don’t stress about buying expensive tools. A basic acrylic set, a couple of medium-sized brushes, and a canvas are enough to get started. If you want a detailed list, check out our guide on acrylic painting for beginners step by step where we break down must-have supplies for first-time painters.

2. Learn the Magic of Color Mixing

One of the coolest parts of painting is discovering what happens when colors mix. With just red, blue, yellow, black, and white, you can create endless shades. It’s like having your own mini science experiment on canvas.

3. Keep Paint Wet a Little Longer

Acrylics are famous for drying quickly. That’s good for layering, but tricky if you’re blending. Keep a spray bottle nearby to lightly mist your palette—it’ll buy you extra time.

4. Try Easy Projects First

Want a confidence boost? Start with easy acrylic painting for beginners, like sunsets, flowers, or abstract shapes. Simple designs help you learn brush control without the pressure of perfection.

5. Follow Step-by-Step Guides

When in doubt, go step by step. That’s why so many people love joining our paint and sip nights—our instructors break each project into simple stages so you can paint, sip, and laugh your way to a finished canvas.

6. Build Paintings in Layers

Think of your painting like a sandwich—start with a solid base (background), then add toppings (details).

7. Embrace Mistakes (They’re Part of the Fun)

Made a line too thick? Painted the wrong color? No worries! Wait for it to dry, then paint over it. Acrylics are very forgiving—mistakes often turn into creative surprises.

8. Take Care of Your Brushes

Rinse them while painting and wash them with gentle soap afterward. If acrylic paint dries on a brush, it’s tough to rescue—so a little care goes a long way.

9. Experiment Beyond Brushes

Sponges, palette knives, even an old gift card can add amazing textures. Don’t be afraid to play around—half the fun of beginner acrylic painting is discovering what works for you.

10. Paint Often and Have Fun

The best tip of all? Keep painting. Remember, art isn’t about being perfect—it’s about expressing yourself and enjoying the process.

Conclusion

Starting your acrylic painting for beginners step by step journey doesn’t have to feel intimidating. With the right mindset and a few easy tips, you’ll surprise yourself with what you can create.

At Artväna, we make painting fun and approachable. Whether you’re joining us for a paint and sip in Washington or checking out our guide on Beginner Acrylic Painting, our team is here to assist you.

Acrylic painting for beginners

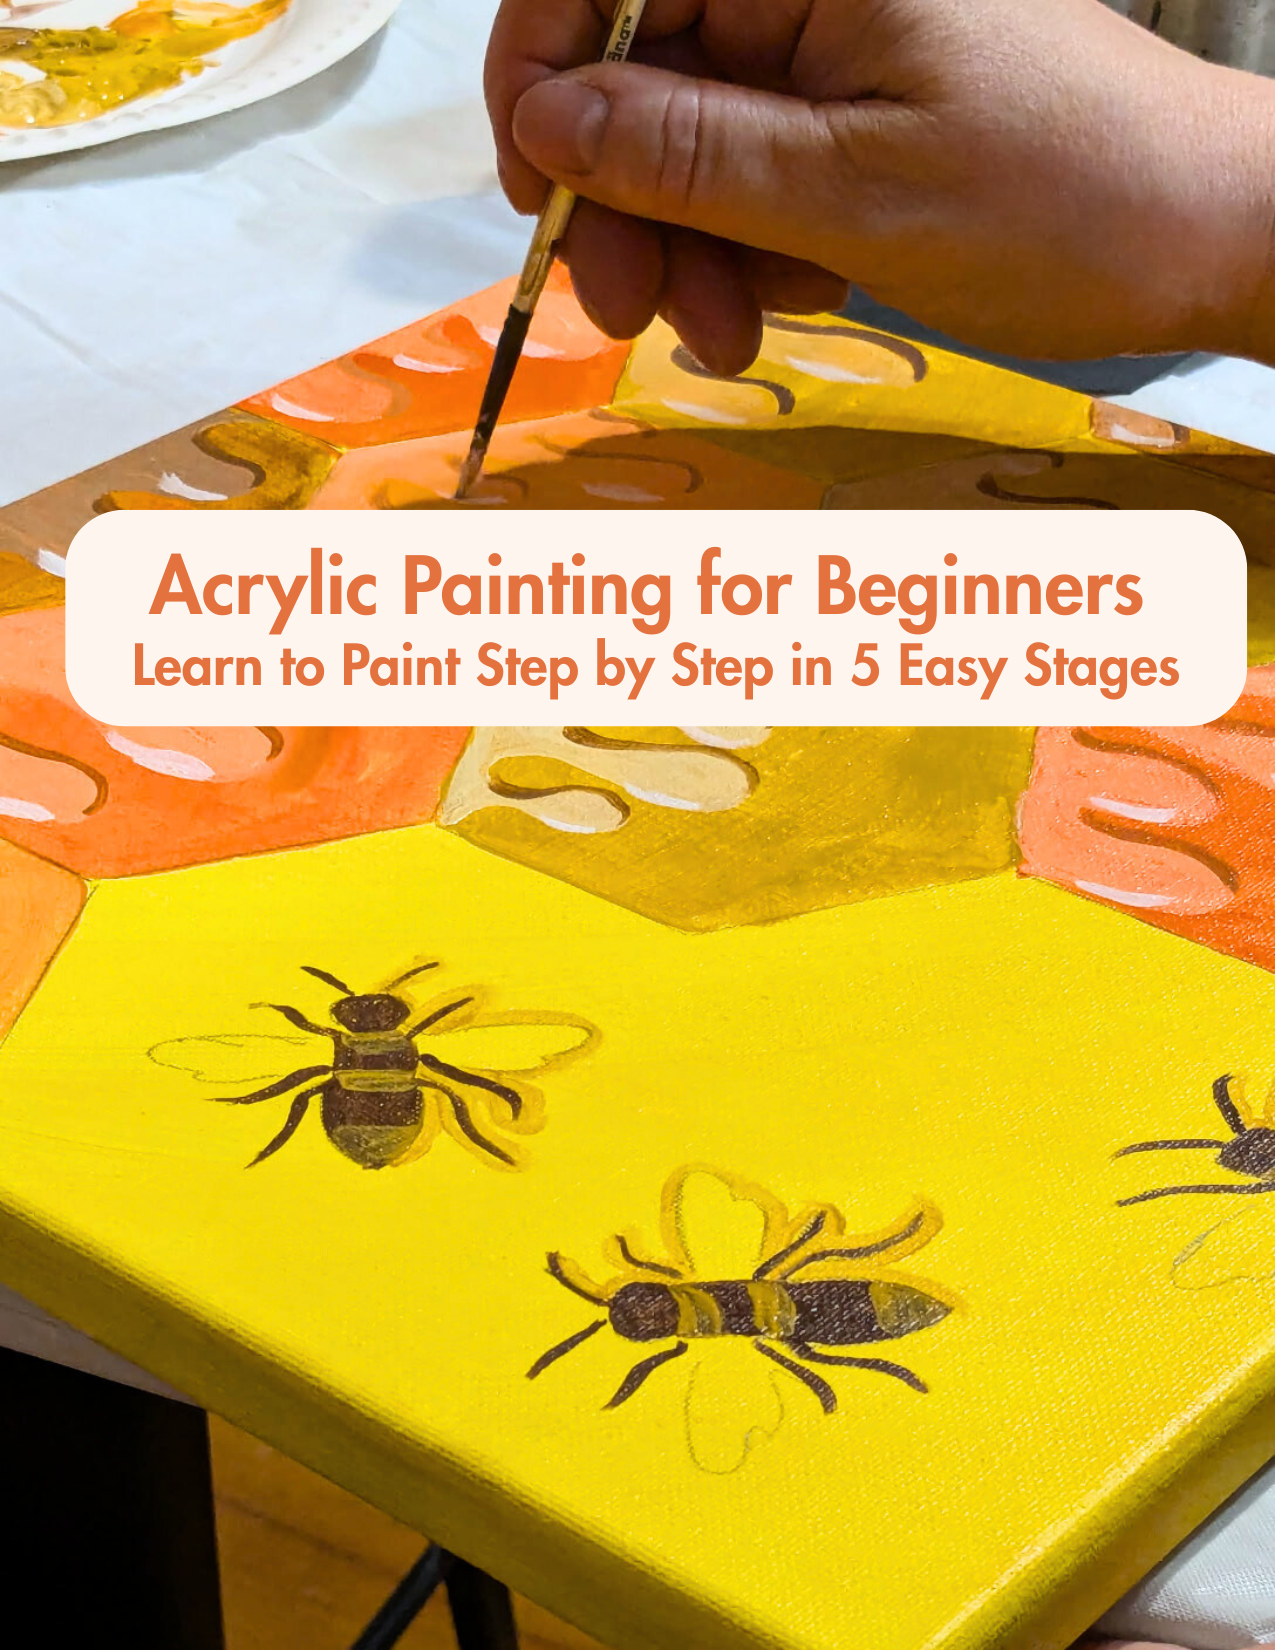
Are you eager to explore the world of painting but don’t know where to start? Acrylic painting is one of the most beginner-friendly mediums out there. Fast-drying, versatile, and easy to clean up, it’s perfect for anyone who wants to unleash their creativity. In this guide, you’ll learn acrylic painting for beginners step by step, so you can confidently create your first masterpiece.

If you want a more in-depth guide, check out our detailed tutorial: Step-by-Step Acrylic Painting for Beginners: Learn to Paint Like a Pro.

Why Choose Acrylic Painting as a Beginner?

Acrylics are popular for beginners for many reasons:

  • Versatile and forgiving: You can layer, blend, or even erase mistakes with water while the paint is still wet.
  • Quick-Drying: Acrylic paint sets rapidly, allowing you to finish your artwork much faster than oil paints.
  • Budget-friendly: You don’t need expensive materials to get started.

Because of these benefits, many artists start with acrylic painting for beginners step by step, making it easier to learn without feeling overwhelmed.

What You Need to Get Started 

Before diving in, gather your essentials. Having the right tools will make your first acrylic painting experience smooth and enjoyable.

Essential Brushes and Paints

  • You need to start with a basic set of brushes: round, and flat.
  • Use primary colors (red, blue, yellow), plus black and white, so you can mix nearly any color.

Canvas or Paper Choices

  • Canvas boards or stretched canvases are perfect for beginners.
  • Acrylic paper is another budget-friendly option.

Palette, Cup of Water, and Apron

  • Keep water handy for rinsing brushes.
  • An old palette or a plastic plate works fine for mixing colors.
  • Wear an apron to protect clothing.

The 5 Easy Stages of Acrylic Painting for Beginners Step by Step

Here’s a simple, structured approach to painting your first piece.

Step 1 – Prepare Your Workspace and Materials

  • Choose a well-lit, clean area.
  • Arrange your paints, brushes, water cup, and canvas so everything is within reach.
  • Protect surfaces with newspaper or a plastic sheet.

Step 2 – Sketch Your Design Lightly

  • Use a pencil to outline the main shapes.
  • Don’t worry about perfection; this is just a guide for your paint.

Step 3 – Block in Basic Colors

  • Start painting with wide areas first, then from background to foreground.
  • Use broad strokes and avoid overmixing colors at this stage.
  • Pro tip: If you make a mistake, acrylics dry fast, so you can paint over it easily.

Step 4 – Add Layers and Details

  • Build up layers gradually, adding shading, highlights, and small details.
  • Use smaller brushes for intricate areas.
  • Blend carefully, remembering acrylics dry quickly.

Step 5 – Complete Your Painting and Keep It Safe

  • Examine your painting carefully, enhancing it with final accents and finishing touches.
  • Optionally, use acrylic varnish to seal your work and protect it from dust or fading.

Quick Overview: Acrylic Painting for Beginners Step by Step


Step What to Do Tools & Materials Needed Tips for Beginners
Step 1: Prepare Workspace Set up your painting area with good lighting and protection for surfaces Canvas, brushes, paints, water cup, apron, newspaper/plastic sheet Keep everything within reach and protect your table
Step 2: Sketch Your Design Lightly outline your design with a pencil Pencil, eraser Errors are natural
Step 3: Block in Basic Colors Paint large areas first from background to foreground Brushes, acrylic paints, palette Use broad strokes and avoid overmixing colors
Step 4: Add Layers & Details Build layers, add shading, highlights, and small details Smaller brushes, palette knife (optional) Work gradually and let layers dry as needed
Step 5: Final Touches & Sealing Review, add finishing touches, and optionally varnish Acrylic varnish, small brushes Protect your painting and enhance color vibrancy


Common Mistakes Beginners Make While Learning

Even the most careful beginners encounter challenges. Here are common pitfalls and tips:

  • Overworking layers: Don’t repeatedly paint over the same spot while it’s wet. Let layers dry.
  • Using too much water: Thin the paint slightly but maintain opacity.
  • Skipping underpainting: A light base color can help your painting look more balanced.

Keeping these tips in mind ensures that anyone following an acrylic painting for beginners step by step tutorial stays encouraged rather than frustrated.

Where to Practice and Get Feedback

Practicing in a supportive environment speeds up learning:

  • Artväna Paint & Sip Nights: Join a fun, interactive class where you can paint alongside others and get real-time guidance. Perfect for trying out your first steps.
  • Online Communities: Share your progress on Facebook groups, Instagram, or Reddit to get helpful feedback.
  • At-Home Practice: Dedicate a small corner at home for your acrylic experiments.

“Want to try this with friends? Join an Artväna Paint & Sip Night and paint your first acrylic masterpiece step by step with expert guidance.”

Start Your Acrylic Painting Journey Today

Acrylic painting is approachable, fun, and incredibly rewarding. By following these 5 easy steps, beginners can quickly gain confidence and start creating beautiful artwork.

Whether you’re using this acrylic painting for beginners step by step guide or exploring our more advanced tutorials, remember: the key is consistent practice and patience.

Want to join pain and sip nights? Join an Artväna event and create art you’ll be proud of!”

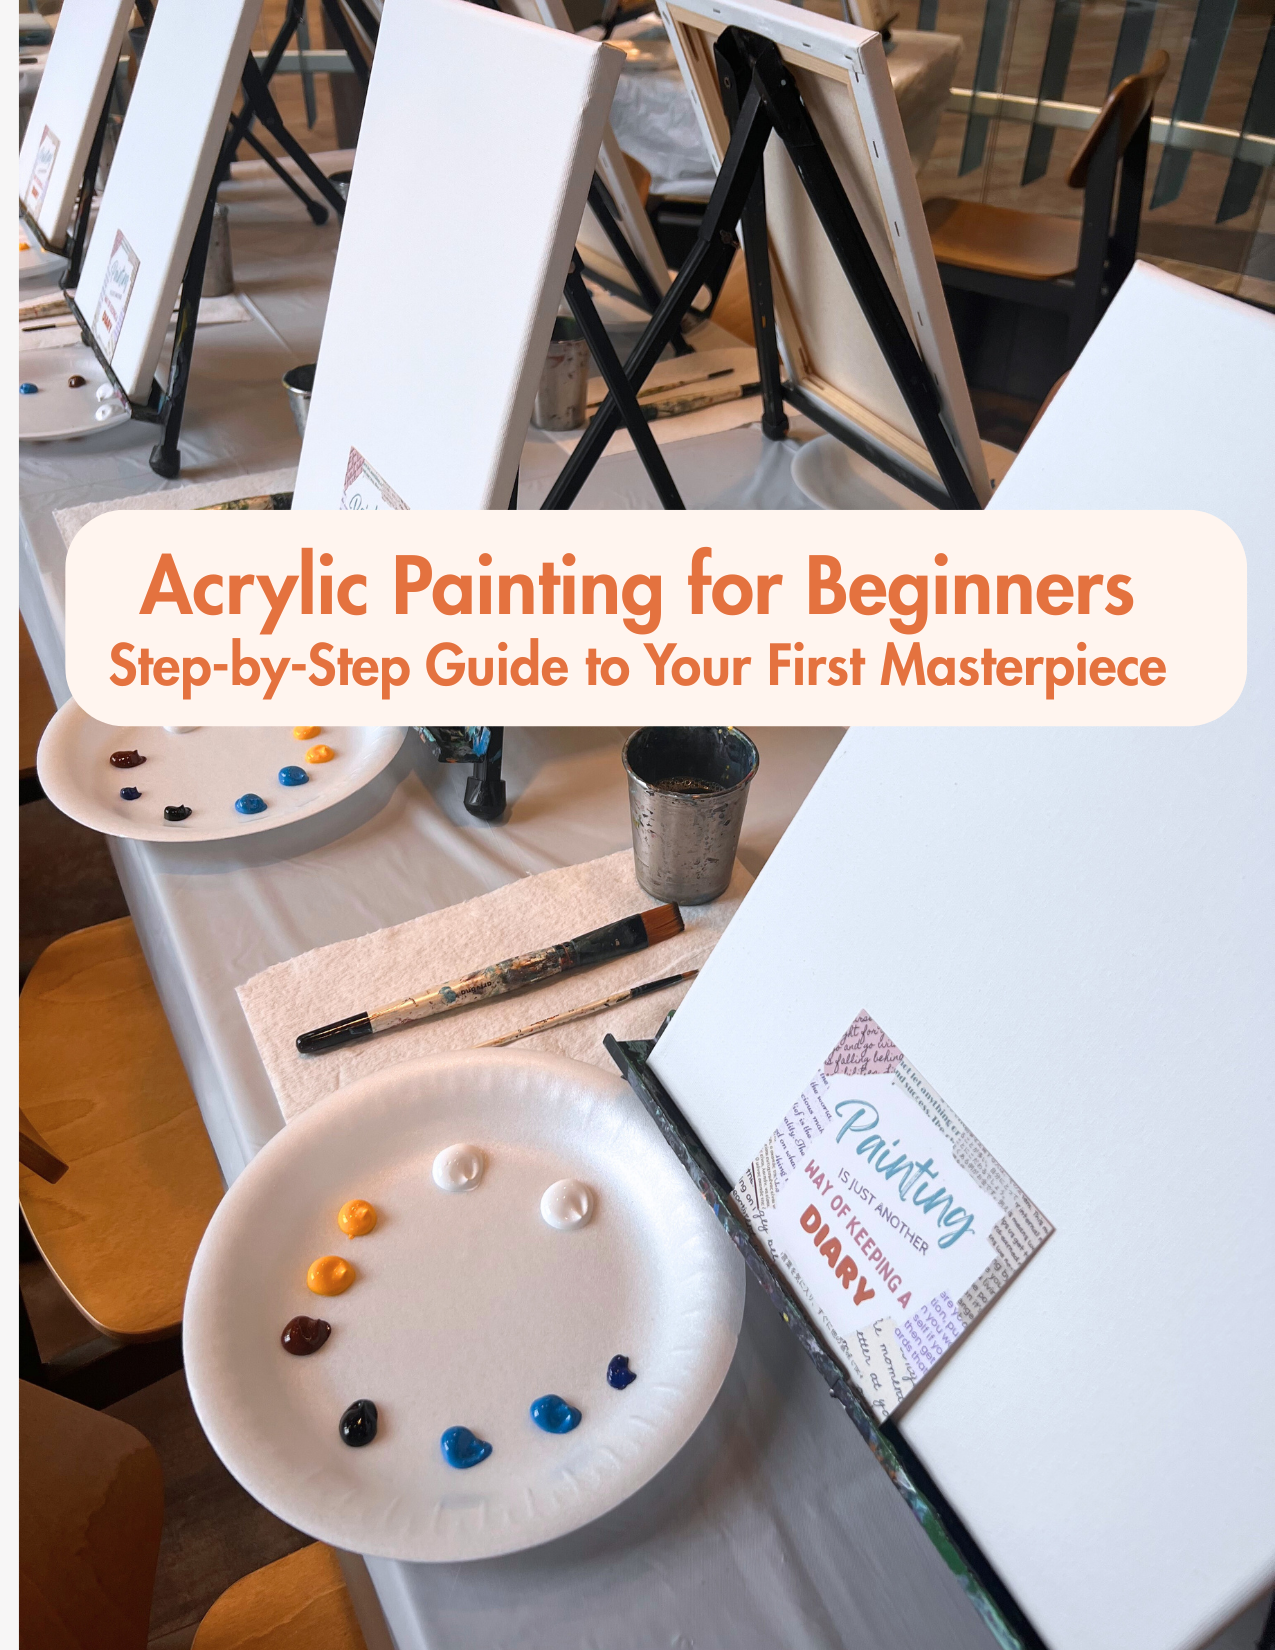
Acrylic Painting for Beginners: Step-by-Step Guide to Your First Masterpiece

Have you ever wanted to paint but didn’t know where to start? Acrylic painting is perfect for beginners—fast-drying, forgiving, and incredibly satisfying. Follow this step-by-step guide to create your first painting, whether in a live class or online tutorial, while discovering the joy, mindfulness, and confidence that comes from creating art.


Table of Contents

  1. Set the Scene for Creativity

  2. Choose Your Colors and Canvas

  3. Learn Essential Acrylic Techniques

  4. Start Your Painting

  5. Add the Final Touches

  6. Reflect and Celebrate Your Work

  7. Why Acrylic Painting is Perfect for Beginners

  8. Final Thoughts: Your First Masterpiece Awaits


Set the Scene for Creativity

Before touching your brush, creating the right environment is key.

  • In a class: Your easel, brushes, and paints are ready, and the studio is welcoming.

  • At home online: Set up your supplies—canvas, paints, brushes, water, and paper towels—so your workspace feels inviting.

Mini-Tip: Play soft music, take a deep breath, and remind yourself there’s no “wrong” in art!


Choose Your Colors and Canvas

Selecting colors is part of the fun:

  • Classes provide curated palettes, but you can add personal touches.

  • Learn simple color mixing to make your painting more vibrant.

  • A blank canvas may feel intimidating, but every stroke brings it to life.

Mini-Tip: Work in small sections at a time to build confidence.


Learn Essential Acrylic Techniques

Even beginners can create striking effects with a few simple techniques:

  • Blending: Smooth color transitions for depth.

  • Layering: Build colors for texture and dimension.

  • Brush Handling: Different strokes create different effects.

Mini-Tip: Mistakes are part of the journey—acrylic paint is forgiving!


Start Your Painting

Time to put brush to canvas:

  1. Sketch basic shapes.

  2. Apply first layers without worrying about perfection.

  3. Gradually build depth and details.

Mini-Tip: Step back often—seeing your painting from a distance helps perspective.


Add the Final Touches

Make your painting shine:

  • Add highlights, shadows, or small details that bring it to life.

  • Experiment with finishing touches to reflect your personal style.

Mini-Tip: Take your time—enjoy how far your painting has come.


Reflect and Celebrate Your Work

Painting is about the process as much as the finished piece:

  • Notice the calming, meditative effect of painting.

  • Celebrate your accomplishment—you created something uniquely yours.

  • Share your work with friends, family, or online communities to boost confidence.

Mini-Tip: Take a photo of your painting—seeing your progress inspires your next project.


Why Acrylic Painting is Perfect for Beginners

  • Fast results: Acrylics dry quickly, showing progress immediately.

  • Forgiving medium: Mistakes are easy to fix.

  • Mindfulness & stress relief: Painting encourages focus and relaxation.

  • Confidence boost: Completing your first painting is an achievement you’ll remember.


Final Thoughts: Your First Masterpiece Awaits

Starting acrylic painting doesn’t have to be intimidating. By following these step-by-step instructions and embracing the process, beginners can create artwork they’re proud of while enjoying all the emotional and creative benefits of painting.

Whether in a live class or an online tutorial, turning a blank canvas into your own masterpiece is a joy you’ll carry long after the paint dries.

Ready to paint your first masterpiece? YOU CAN DO THIS, and we believe in you!  Grab a brush, let go of perfection, and start creating today!

SHOP OUR ONLINE TUTORIALS

BROWSE UPCOMING IN-PERSON CLASSES

🎨 Start Painting Today!

Join our weekly newsletter to get:
✨ New class drops
🎁 Exclusive giveaways
💸 Special discounts
💫 And more creative inspiration!
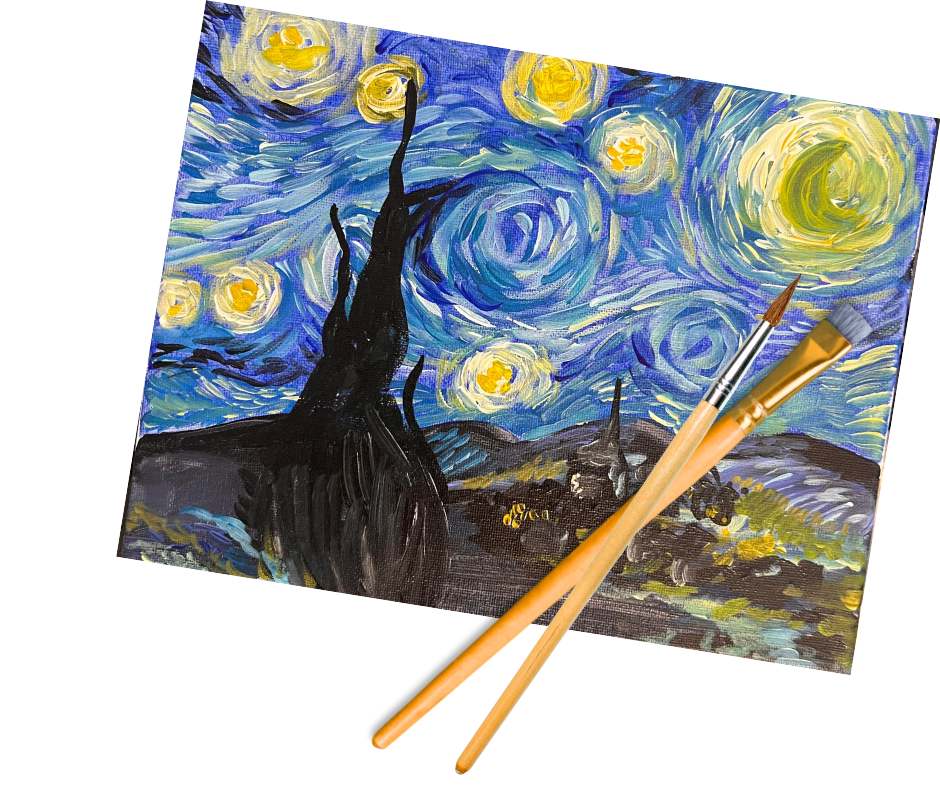
Sign up now and get instant access to our 'Starry Night Tutorial' —
a $19 value, FREE!
We don’t want you to miss a thing — let’s paint together!